
As anyone who’s seen my Twitter posts knows all too well, I’ve really gotten into the Emerald Rush mode in Donkey Kong Bananza. Driven in part by an obsession with getting V ranks on every level, and in part due to the events and their statue rewards, it’s become one of my most played games on the Switch 2, even above games like Breath of the Wild and Tears of the Kingdom.
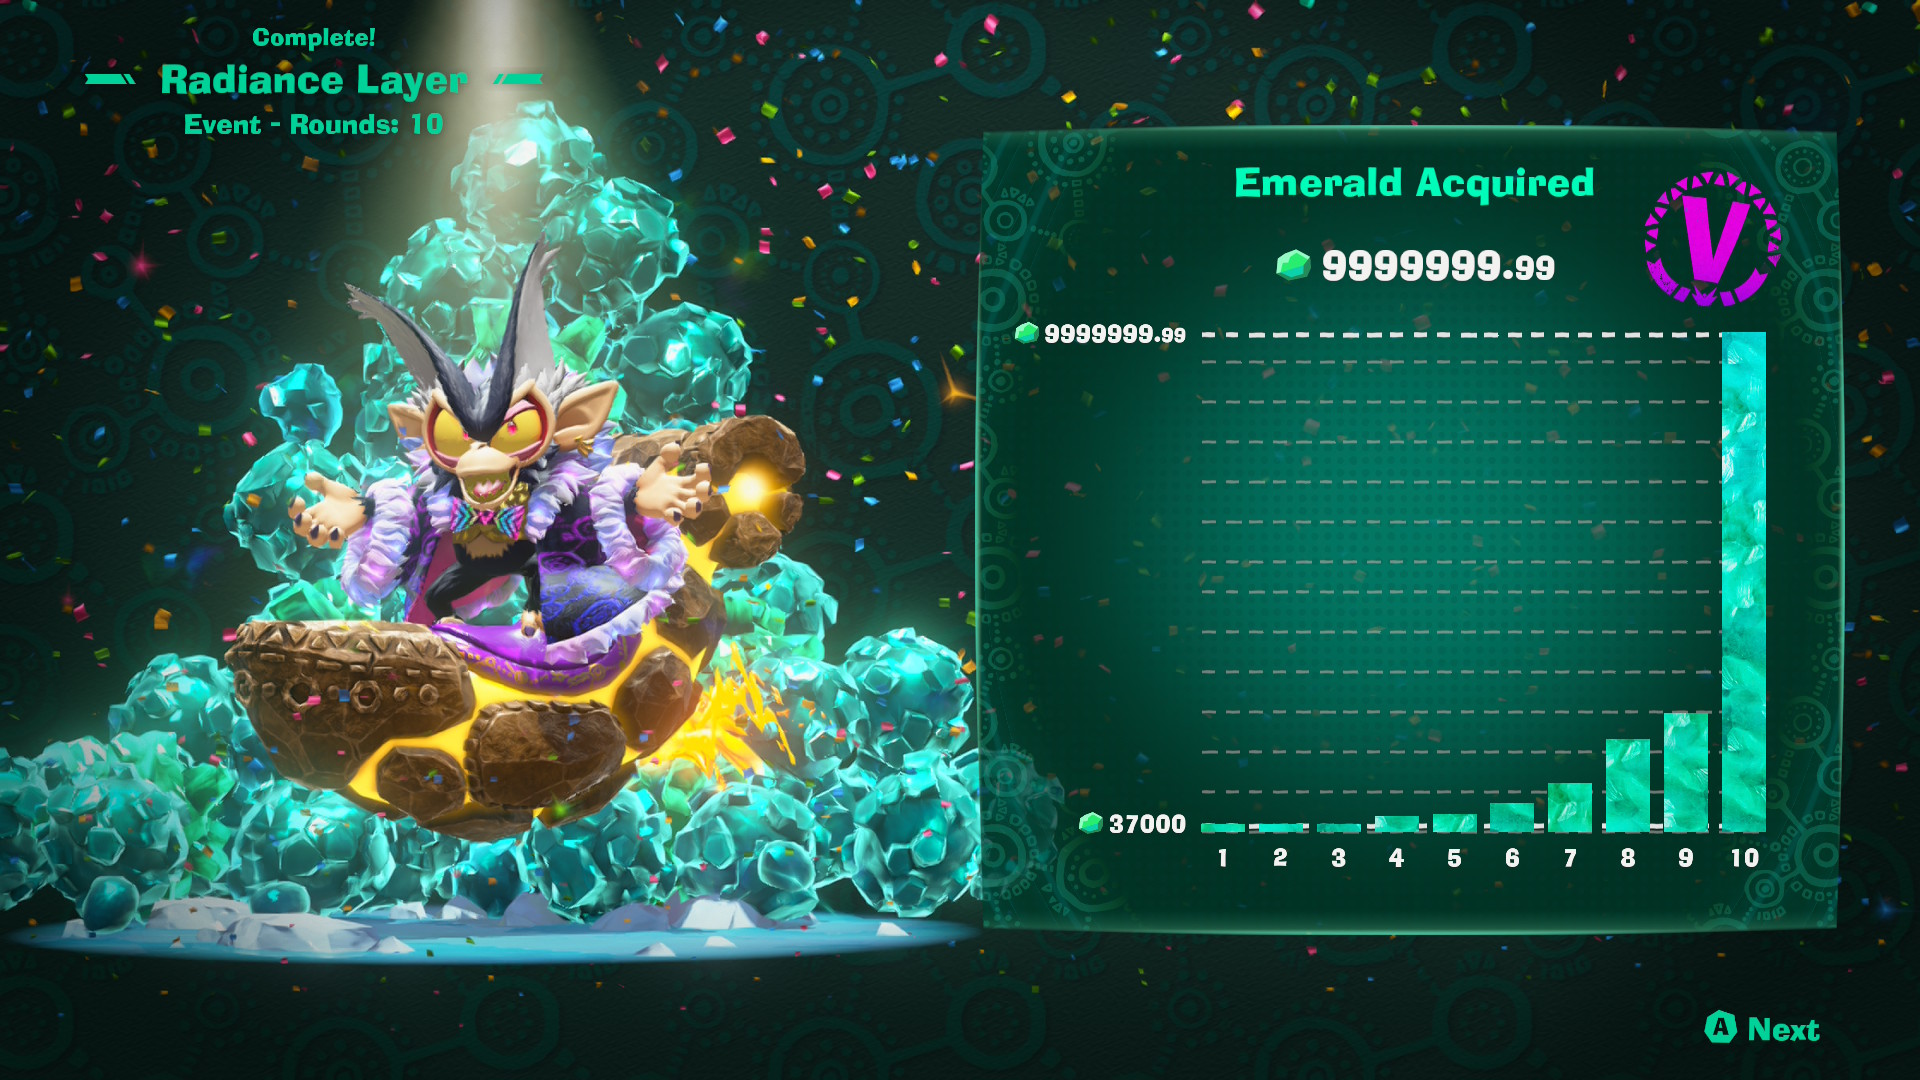
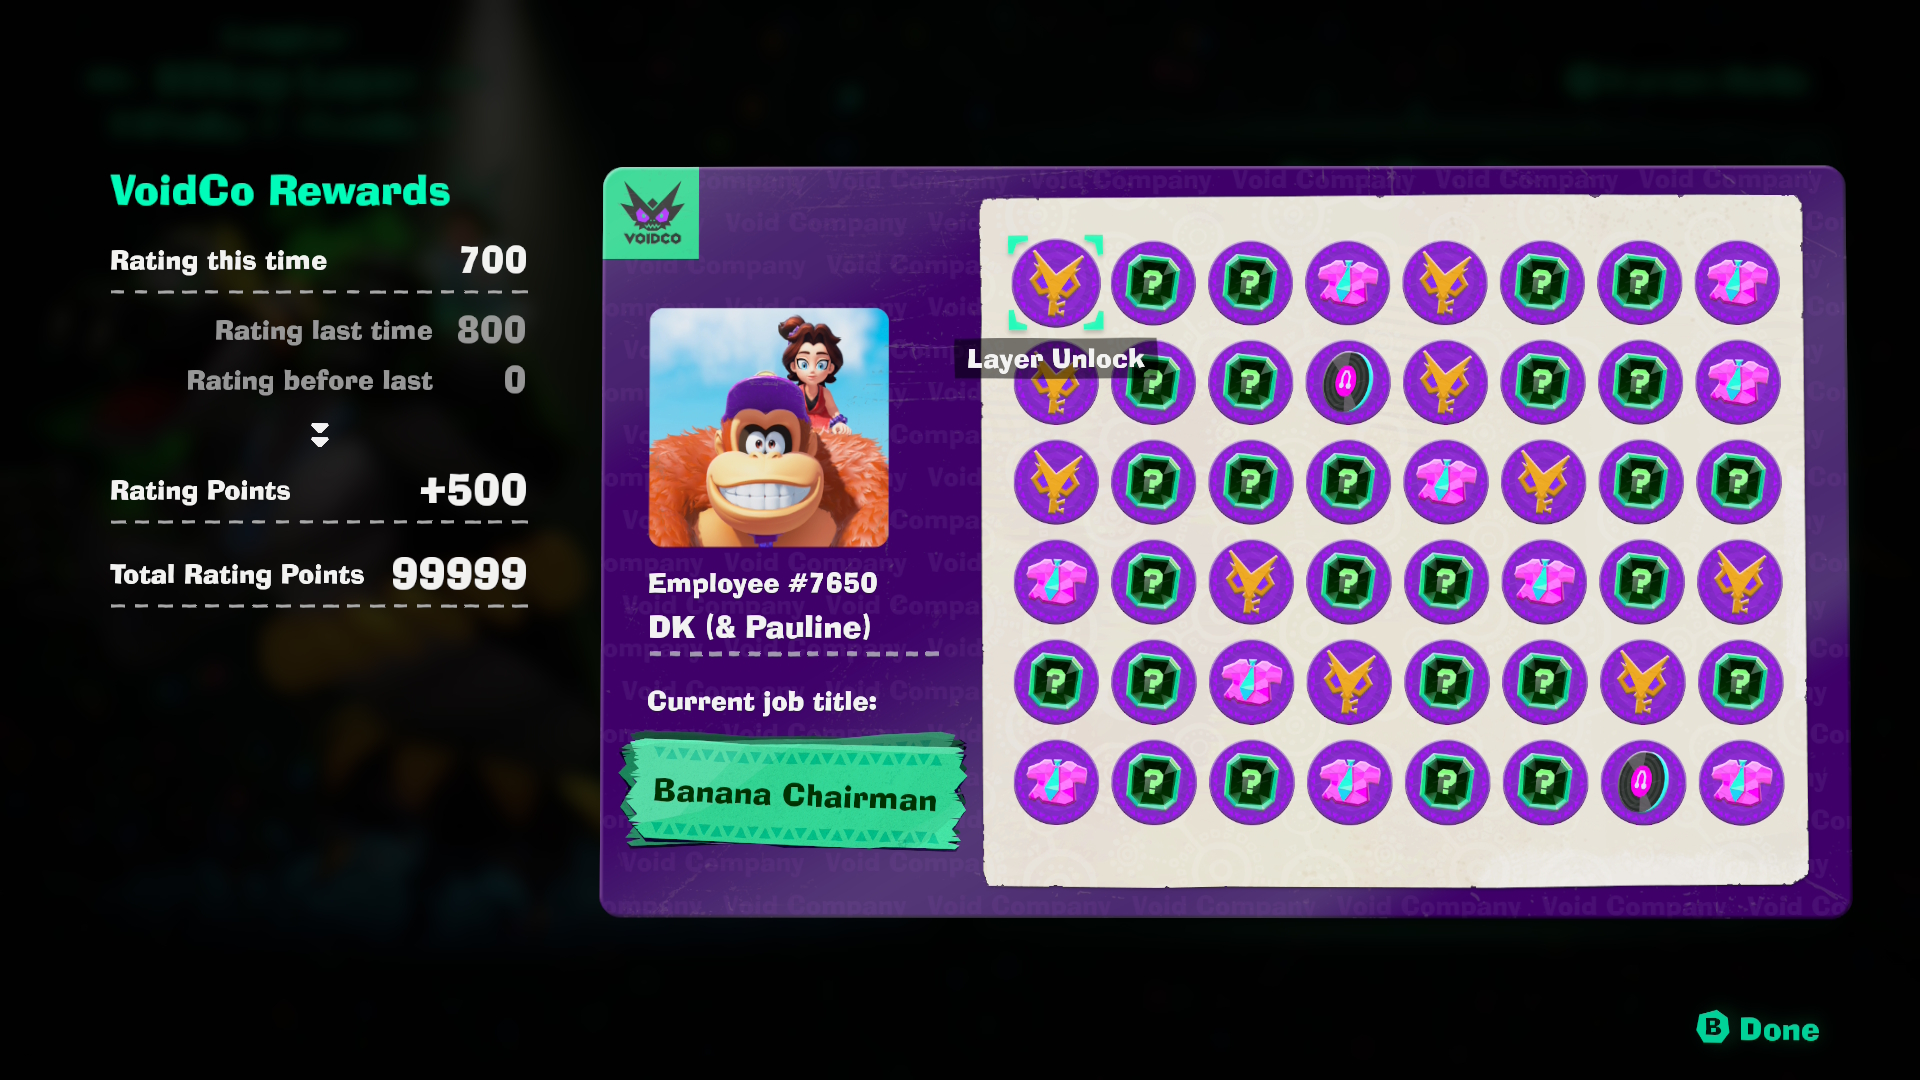
But while this addiction has certainly been a fun one, it’s also taught me a few things about the game too. A few things about the mode that anyone looking into it should really keep in mind.
So, from someone’s who’s cleared and V-ranked every level, here’s what I learnt from my experience.
The List
Early Momentum is Everything
Starting with the obvious: momentum is God in this mode.
Seriously, if you struggle to get a good start on any layer, you are almost certainly not getting to a V rank anytime soon. Or at least, you’ll have to work twice as hard for it.
So, if you ever start a level 7 round, make sure those first two rounds are as productive as they can be. Get those skill bananas, get a few dozen fossils or so, and make sure your emerald count is at least in the thousands after round 2.
Otherwise, things will turn out very difficult indeed.
A Bad Starting Hand is Hell
Due to Emerald Rush being a roguelike of sorts, the mechanics are heavily randomised compared to the base game. As a result, what bananas are available, what skills they have and what perks the game suggests to you will differ for every attempt.
This can be the make-or-break point for the entire attempt. If the bananzas you want are there at the start, like the snake one?
Great, you’re in luck. The game has pretty much given you an easy ride to the end. You’re set for a few rounds at least.
On the other hand, if the bananza is found at the other end of the level and it’s something like the Tempest Layer… God help you. You’d better pray you get an extra barrel sooner rather than later, otherwise your attempt is likely going up in flames.
Same goes with the perks too. Staring Down in an early round is amazing, as is Lowdown Beat, Rock Ensemble Beat and Slow-Motion Beat. Get those early on, and things are probably smooth sailing from there.
Get a bunch of ‘forager’ perks on the other hand… and well your attempt is probably going to fail there and then. You can block them and reroll, but at some point, it’s best to assume the run is going nowhere if you’re blocking by the dozen and rerolling multiple attempts after every fossil.
Void Goals are Hell
Speaking of random, there are also the goals Void Kong sets you throughout the game. These can range from defeating a certain number of enemies to smashing emerald lumps or hi-fiving NPCs, and offer a variable number of emeralds and chips when completed.
Unfortunately, they also have a high chance of determining your game’s success rate. Or at least, being the differentiator between a decent score and an amazing one on certain layers.
That’s because many layers don’t actually have respawning enemies. DK Island, the Hilltop Layer, to some degree even the Landfill Layer fall into this category.
So, the odds of a good run can often depend on how often Void summons enemies for DK versus how often he asks the ape to do things like ride minecarts or smash rocks.
These Levels Really Weren’t Made for This…
On a different note, it’s always interesting which levels work well in Emerald Rush and which don’t.
Since it seems to correlate heavily between how open-ended the level is, how easy everything is to reach, and how intentional it was that the mode was playable in that stage.
For example, DK Island is amazing for the mode. Every fossil and banana is in an easy place to reach, the layout is designed for quick turf surfing at every turn, and things just feel right overall. The stage was built for the mode in mind, and it shows.
Similarly, while the stage wasn’t technically made for it, the Lagoon Layer works really well here too. There are plenty of respawning enemies, the fossils and bananas are easy to reach without abilities or barrels, and it’s very efficient to surf through most of the level without any hassle.
Now compare this to the Tempest Layer and well, that’s a very different story. The level is just too linear for Emerald Rush to work well on it, and the difficulty of the platforming, enemies and general setup means that you’ll lose plenty of runs to pure bad luck. It’s not a bad level in the main game, and it can be fun to do well here, but it clearly wasn’t made for a mode like this, and it shows right away.
Fragmentones Suck
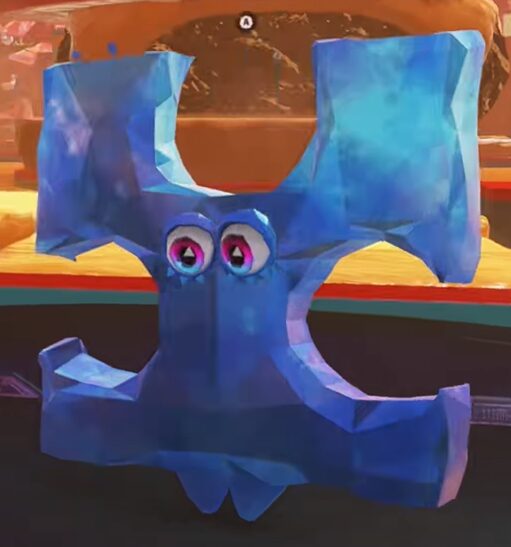
Look, I’m gonna be blunt here. These puzzles were not exactly fun in the base game, due to how miserable escort missions tend to be in video games in general.
But in Emerald Rush, they can just go to hell. The idea of having to slow down to a crawl in a fast-paced, pedal to the metal smashathon mode is downright insane to me, and the game has a bad tendency to put bananzas or other important skills behind finding all of them.
This means that any round with less than 40 or so seconds on the clock is probably going to be over by the time you complete the challenge, and any attempt to clear them for an important ability (like the snake bananza) is going to hold back the entire rest of the run.
Screw these guys. If an important bananza is locked behind one of these puzzles, it’s probably best to just reset the run and try again.
Cranky Kong can be Annoying
Similarly, Cranky Kong can be one of the most annoying characters in the mode. Not personality wise, but just because he’s often placed in the most out of the way, irritating to reach locations possible.
Like on top of a huge tower in the Freezer Layer, on top of a giant tree in the Forest Layer, or in the underground kitchen complex in the Feast one.
So, if a goal asks you to hi-five Cranky Kong… maybe consider re-rolling it on many layers. At least if your barrel count is pretty low and you’re running out of time early on.
Memorise Everything
Speaking of locations, it’s always best to try and memorise everything you can in these layers. Banana and fossil locations, and the challenges associated with them. Places where you can find water and barrel cannons (hint, it’s underneath the main village in Canyon Layer), balloons, apple juice and melon juice locations…
Make sure you know where it is, and figure out a quick way to get there. Your whole run basically depends on it.
Smelting Green or No Smelting Green, That’s the Question
Ah, Smelting Green. Probably the best perk in Donkey Kong Bananza overall, due to the insane exchange rate between chips and emeralds. Getting 300 emeralds per chip usually sets you up for at least the next 3 rounds at minimum, if not the whole game.
But here’s the thing. You shouldn’t always take it right away.
That’s because while the exchange is amazing and all, sometimes keeping your chips a bit longer can make things even better. Like, imagine you’ve got 300 chips, Chip Magnet and Chip Horder.
Yeah, getting 90,000 emeralds at once is certainly going to be useful. And if you’re running low on time and are unable to reach the quota, it’s probably a godsend.
But now imagine the money you can get from defeating enemies with those chips active. Grinding out resources with it. Playing the game just a bit longer with those chips in your possession…
Suddenly, using Smelting Green immediately isn’t really the best play.
So, my advice is as follows:
If you see Smelting Green early on (like the first 3 rounds), take it without a doubt. Those 30-50,000 emeralds you get will take off a lot of pressure early on, and give you time to set up your combo for later rounds.
If you see Smelting Green near the end, take it. That huge bonus can be the difference between a V rank and an A rank right there.
But if you’re in the middle of a long game, weigh up the pros and cons a bit. A few hundred thousand chips right now might be good, but what about later? What if you can get even money early on by keeping the chips, then trade for a few million when the game is winding down?
That may be way more efficient for sure.
Fractonium is Closer Than it Appears
Many times, throughout the run, you’ll be asked to smash apart some Fractonium. This is the material Fractones are made from in DK Bananza, and the amount you need to break is equivalent to a single Fractone overall.
But while most layers provide many places with easy access to the substance, there are some areas where it’s a little tougher to come by. Places where the nearest Fractone is miles from the checkpoint, and where a player without any barrels might end up in a tricky situation.
Fortunately, there’s a great solution there. Good old Trustytone appears near every Getaway as your shop/servant, and he’s also a Fractone that counts for this challenge. So, if there’s a Getaway near your current location and your goal is to break some Fractonium, you know what to do…

Keep Barrels for the Last Minute
On another note, it’s best to save barrels for the end of a round if possible. Get a head start on the next goal, or warp to a banana/fossil that’ll change the game.
They reset after every round, so you may as well take full advantage of that.
Enemy Deaths are Infuriating
On a different note, enemy deaths in Emerald Rush are a complete pain. Why?
Because with a few exceptions (mostly Crocoids and Squeeloids), they take WAY too long to die once hit.
And the Rolluskoids and Buzzoids are the worst of the bunch. Indeed, the number of times I’ve failed to get a V rank because those enemies were still flying through the air once the timer ran out is almost too high to count. It’s like, we get it. It’s funny to watch enemies fly around the stage.
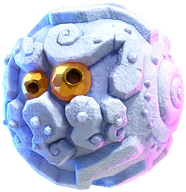
But it’s not exactly very fair when that happens in a timed roguelike mode where a good score is the main objective. You lose up to a few hundred thousand emeralds through no real fault of your own.
So, I wish this game had the quick KO feature that the later Super Smash Bros games have. Where in the last few seconds of the round (maybe 20?) enemies would just explode on the spot rather than flying through the air.
That way, last minute enemy missions aren’t somewhat left up to chance.
Difficulty is Misleading
On a different note, the mode’s stated difficulty level and the actual difficulty level of each layer is wildly inconsistent at best. Indeed, while the Tempest Layer is rated as a difficult layer in game (and equally so by fans), the same can’t be said about many of the others.
That’s because later layers give you more emeralds when you defeat enemies, with the amount multiplying based on the area’s terrain strength. As a result, places like the Radiance Layer and Feast Layer are surprisingly easy, since the combos needed for a good score can be far weaker than anywhere else in the game.
Meanwhile the Hilltop Layer is downright frustrating for many of the same reasons. It’s got few fossils, it has no respawning enemies, there’s no real multiplier on the emeralds enemies drop…
It’s the hardest layer in the game as far as fan opinions are concerned, with the two-star difficulty provided by the game being seen as a complete joke.
Growtones are a Sign of the Times
Ah Growtones. The giant tree like Fractones that have three bananas on their branches, and which are usually found near the start of every layer.
They’re a godsend in Emerald Rush. To the point I sometimes wonder if half the game is determined by whether the Growtone has a bunch of active bananas on it or not.
Why?
Well, think of this way. In the early game, bananas and perks are essential for doing well. You need every one you can get, since they’re how you get bananzas and abilities.
And the Growtone can be a huge source of those. Get nothing on it?
Well, the emeralds and chips can technically help you beat round 1 or 2 more quickly, and it’ll be useful later…
But your momentum will be nowhere near as good as if it had 2 or even 3 bananas ready to go. Think about it. Imagine how much easier the game would be if you could get Kong, Elephant and Snake bananzas all in the same place. Right in the first 20 seconds of round 1.
Yeah, the Growtone can allow that. At least if your luck is on par with your average lottery winner.
Gotta Build Everything…
On a different note, I have to admit I made this mode way harder than it needed to be the first time around. Why?
Because I actually hadn’t built all the Getaways and shortcuts available in the main game. As a result, some places were lacking useful checkpoints, and others were lacking things like barrel cannons and ziplines to navigate to nearby areas.
This was especially stupid in the Freezer Layer, since I somehow forgot to open up the lower floor of the Cooling Tower. So, instead of just leaving to the village, I’d either have to warp out, or climb all the way back up to get to the next objective.
Yeah, don’t make that mistake folks. Go through every layer in the game, and make sure you’ve built everything you can. Otherwise, you’re gonna have a hard time with the later difficulties here…
Where’s the Getaway?
Finally, I’ve got a bit of a bone to pick with the designers of the Freezer Layer. At least, as far as Getaway locations are concerned.
Why are there absolutely none of them on top of Coolstripe Cavern?
Because it’s a key location in both the main game and Emerald Rush. There are multiple bananas there, the rare fossil is there, Void will spawn enemies and emerald lumps up there… You’ll be visiting that area a lot in this mode, that’s for sure.
But there’s no quick way to reach it. You can warp to the ledge getaway sure, but that’s not exactly the most convenient place in the world. It’s still a long rope climb or bridge run from the top, and many metres away from the places on top where enemies and bananas can be found.
There should be a getaway there, sorry. That area needs a checkpoint or two.
Either way, that’s everything I’ve learnt from playing Emerald Rush in Donkey Kong Bananza. It’s been a fairly fun right for the most part, and I’m looking forward to any future events for it, but I’m probably done with the whole thing for now. With V ranks on every level and the emerald cap on many of them, there’s not really any reason to keep playing.
Still, have you tried this mode? What’s your experience with it like?
Tell me your thoughts in the comments below, or on our Discord server today!