
As anyone who’s played The Legend of Zelda: Tears of the Kingdom knows all too well, the MsgNotFound is the best weapon in the game. The Master Sword from the prologue and only available via hacks and glitches, it’s an unbreakable weapon in a game where durability is at a premium, and a fantastic alternative to the normal Master Sword for every battle outside of the final one.
What’s more, now it’s easier to get than ever before! Yep, thanks to a special QR mode and some handy glitches, it’s now possible to get this weapon in seconds without any effort at all. This completely breaks the game in half, and can easily be done before even entering a single dungeon!
Here’s how to get the weapon with the new setup!
The Prerequisites
Or at least, here’s how to get it once you’ve got the necessary prerequisites. To use this setup, you’ll need the following things:
- The Switch 2 version of The Legend of Zelda: Tears of the Kingdom
- Nintendo Switch App with Zelda Notes
- Autobuild (can be obtained before the first Kohga battle)
- At least one weapon you don’t mind losing
Once you have all that stuff, it’s time to get Tears of the Kingdom’s ultimate weapon!
Getting the Weapon
So, here’s a video guide if you prefer that:

If not, keep reading!
Equip a weapon you don’t mind losing, and manually save the game. This can be anything, so it may be best to pick a tree branch or other common item to sacrifice.
Sacrifice a common weapon like this
Scan the following QR code in Zelda Notes:
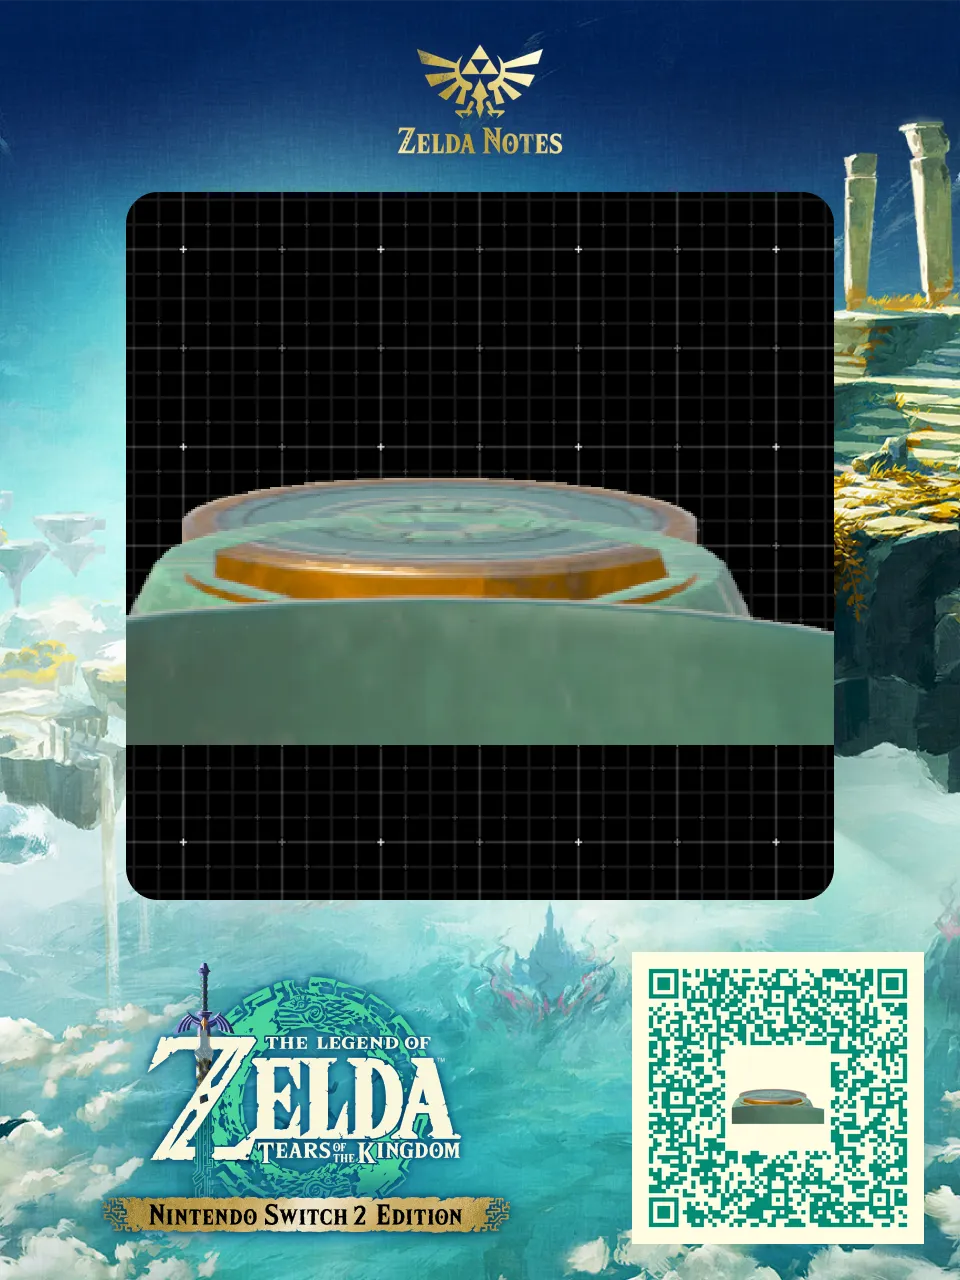
WARNING: This QR code overwrites your current inventory. Use carefully!
Send it to your game, and open Autobuild.
Press + to download the code from Zelda Notes. Don’t build it.

Merely hover the cursor over this build. Do NOT build it!
Instead, close Autobuild with B, then pause and head to the title screen.
Start a new file on your existing save. Don’t worry, you won’t lose your save file here.
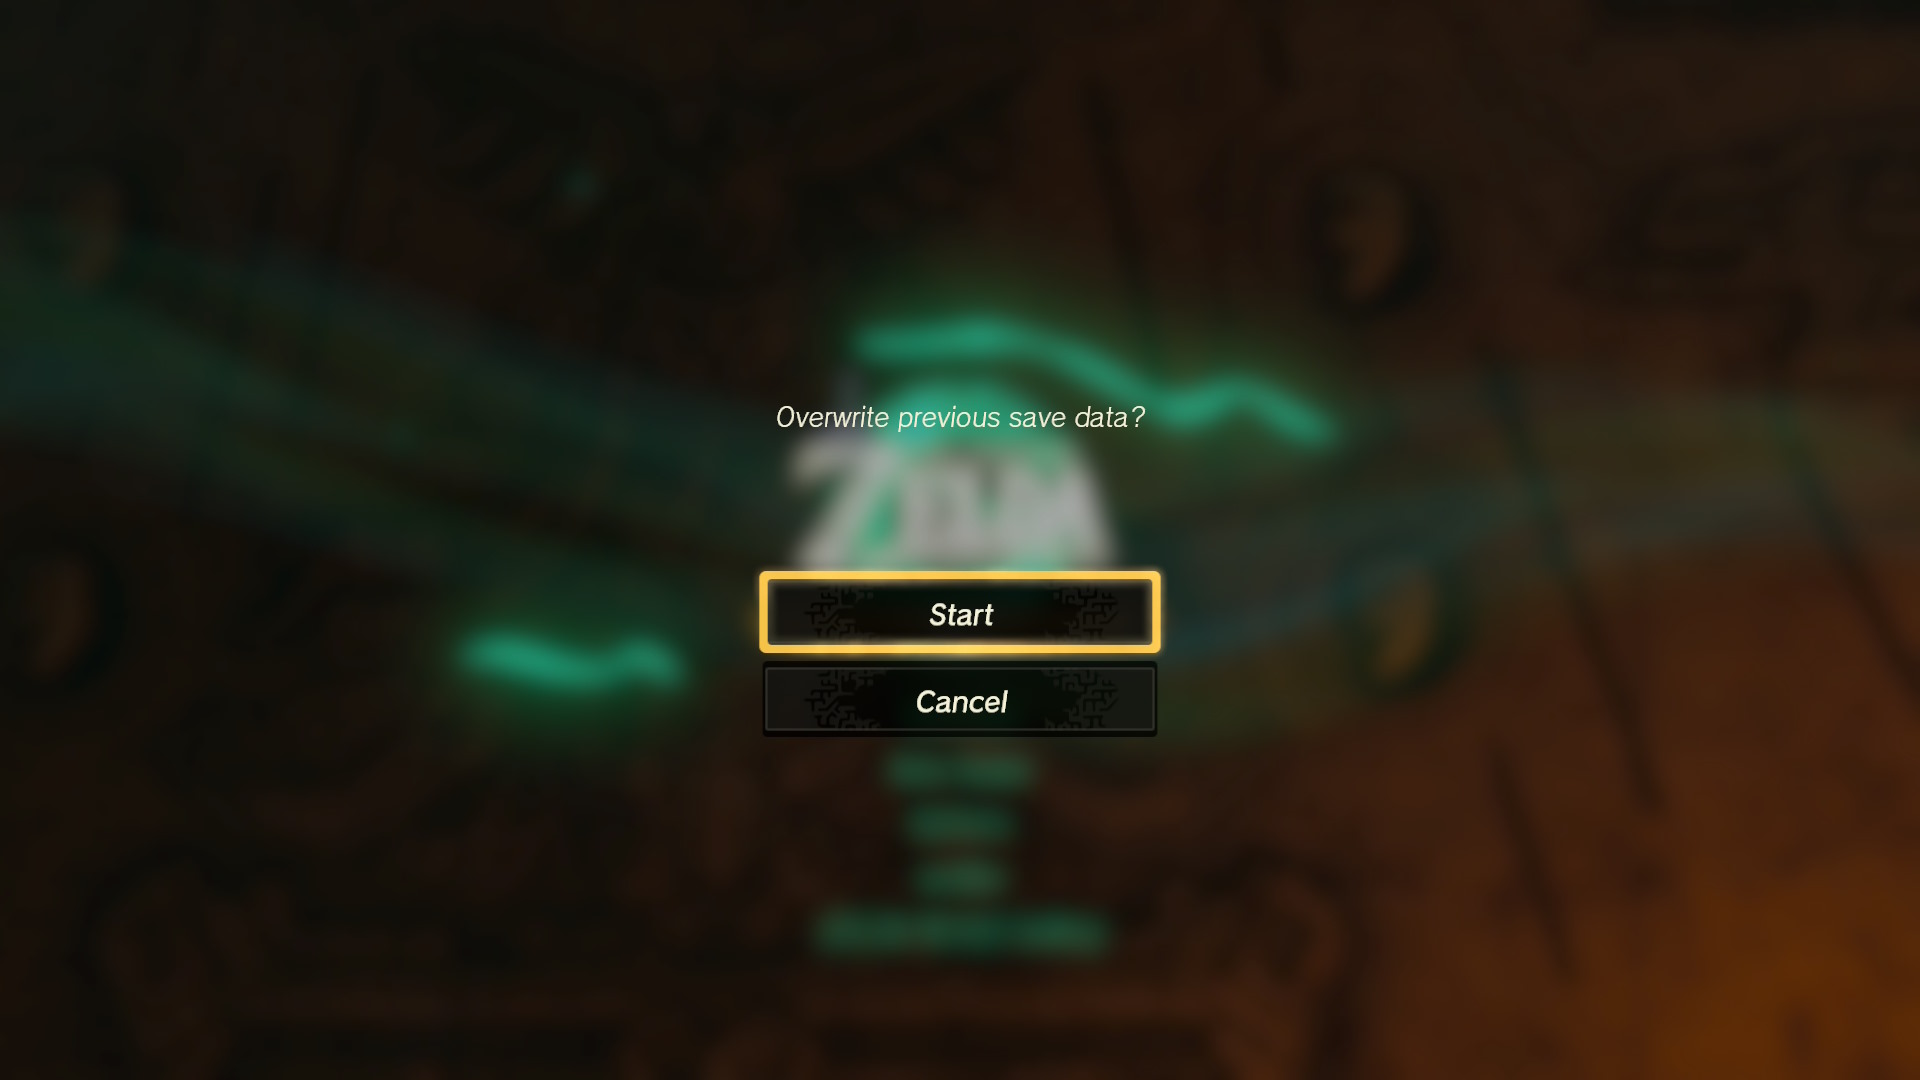
Yes, do this. Don’t worry, you won’t lose anything
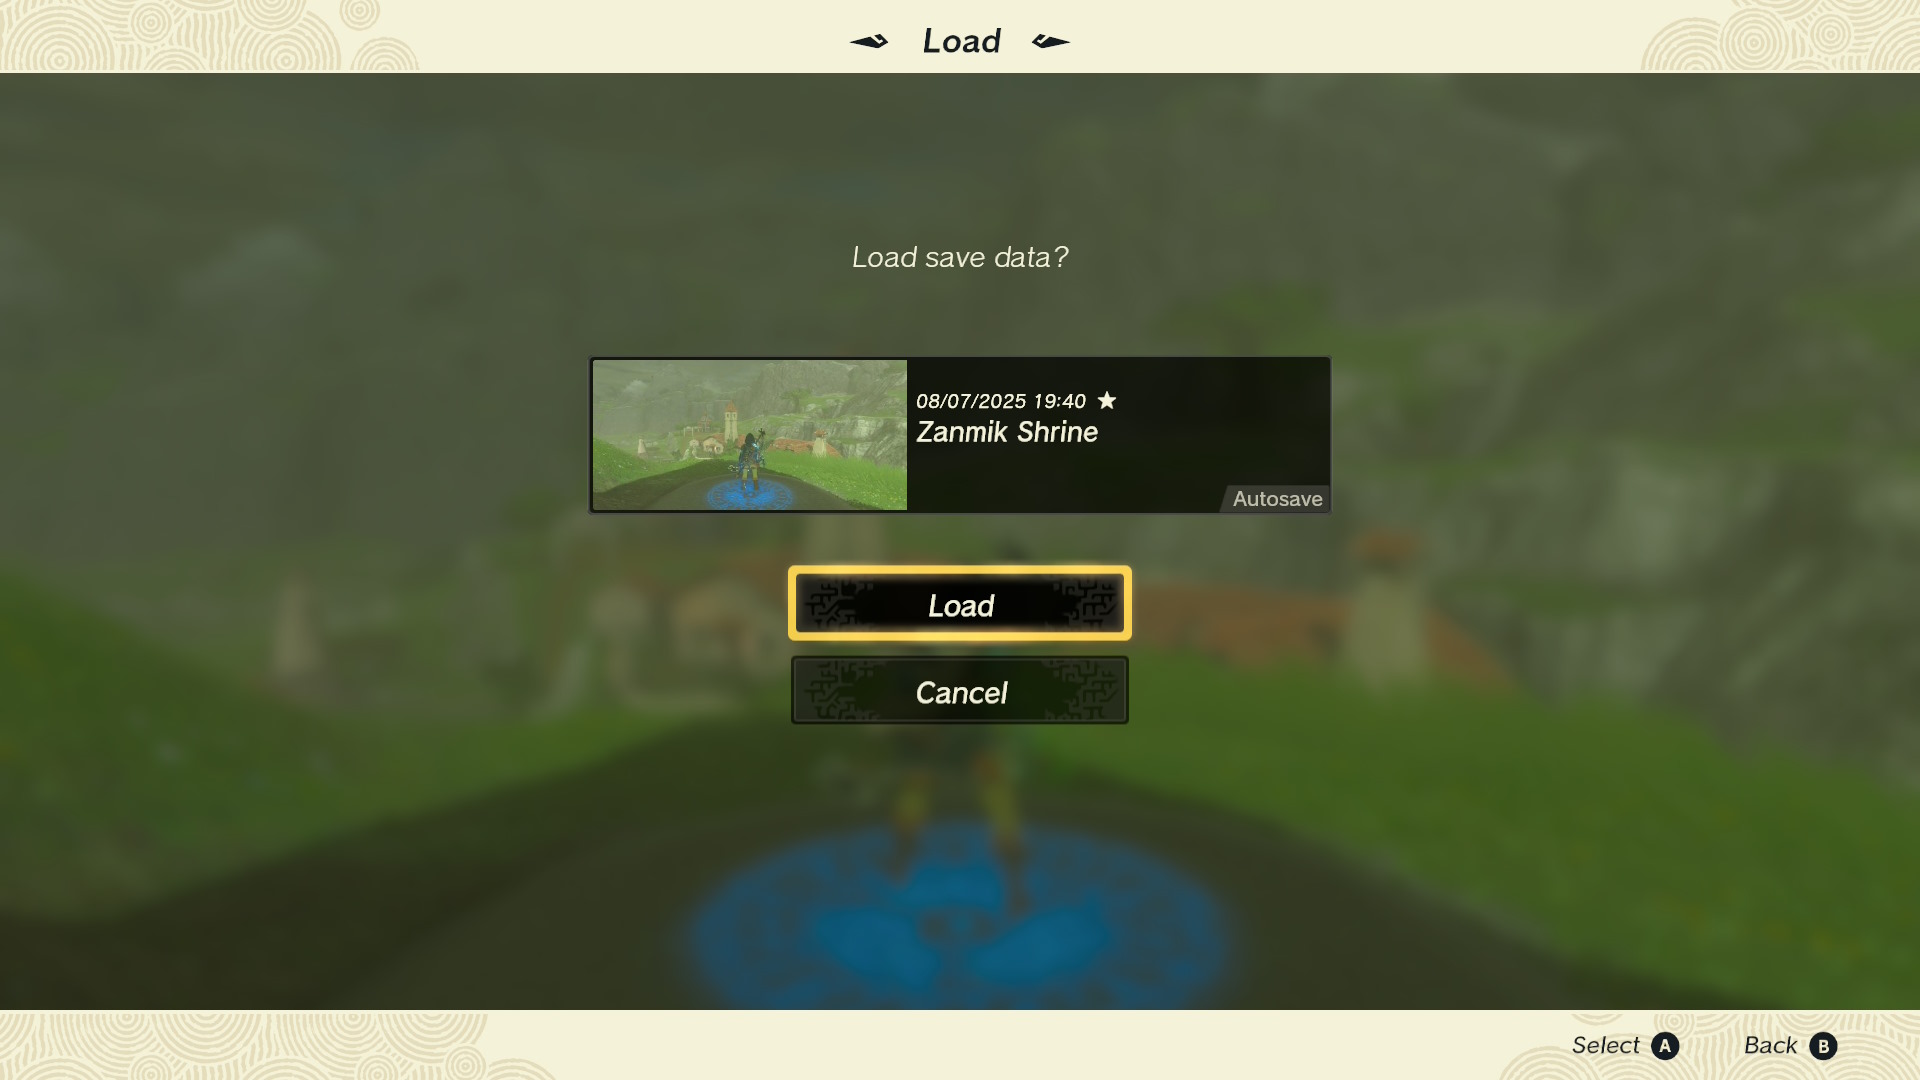
Once you gain control of Link, immediately open your manual save.
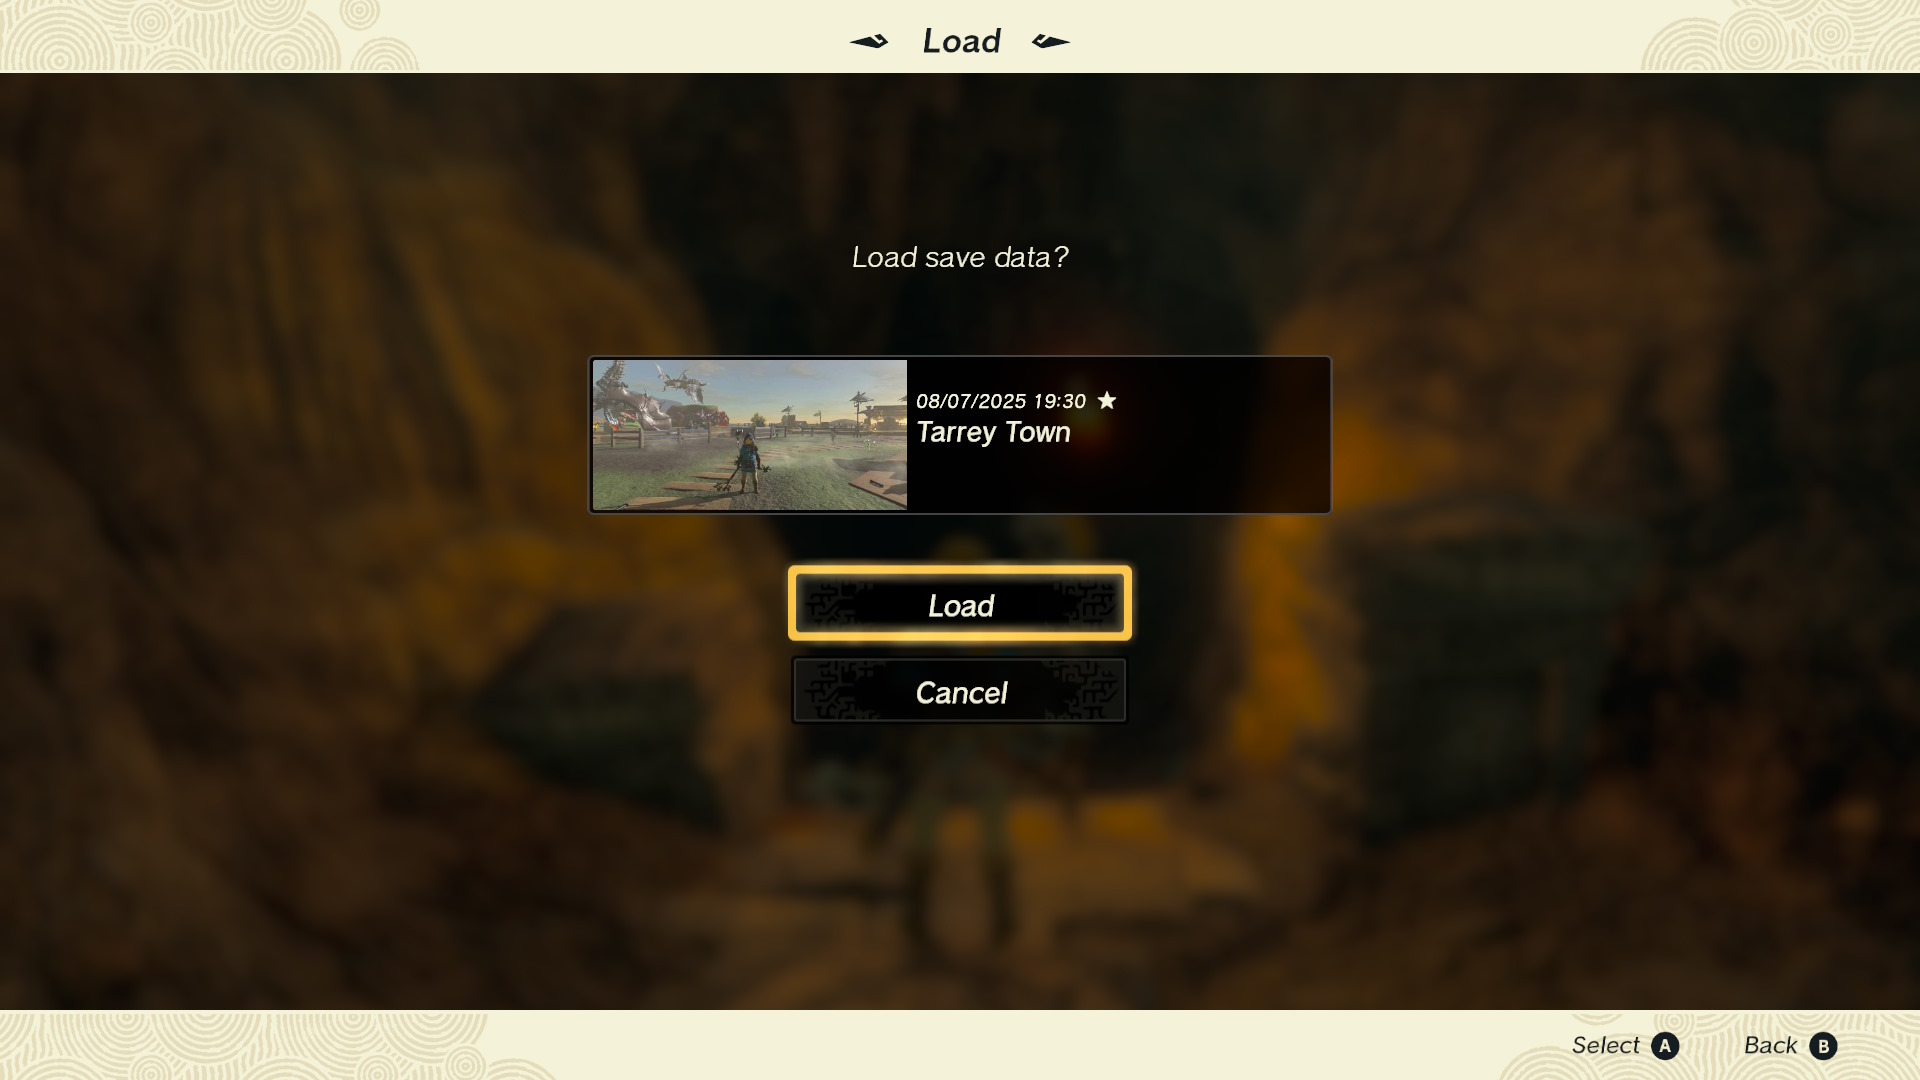
Reload your manual save as soon as possible
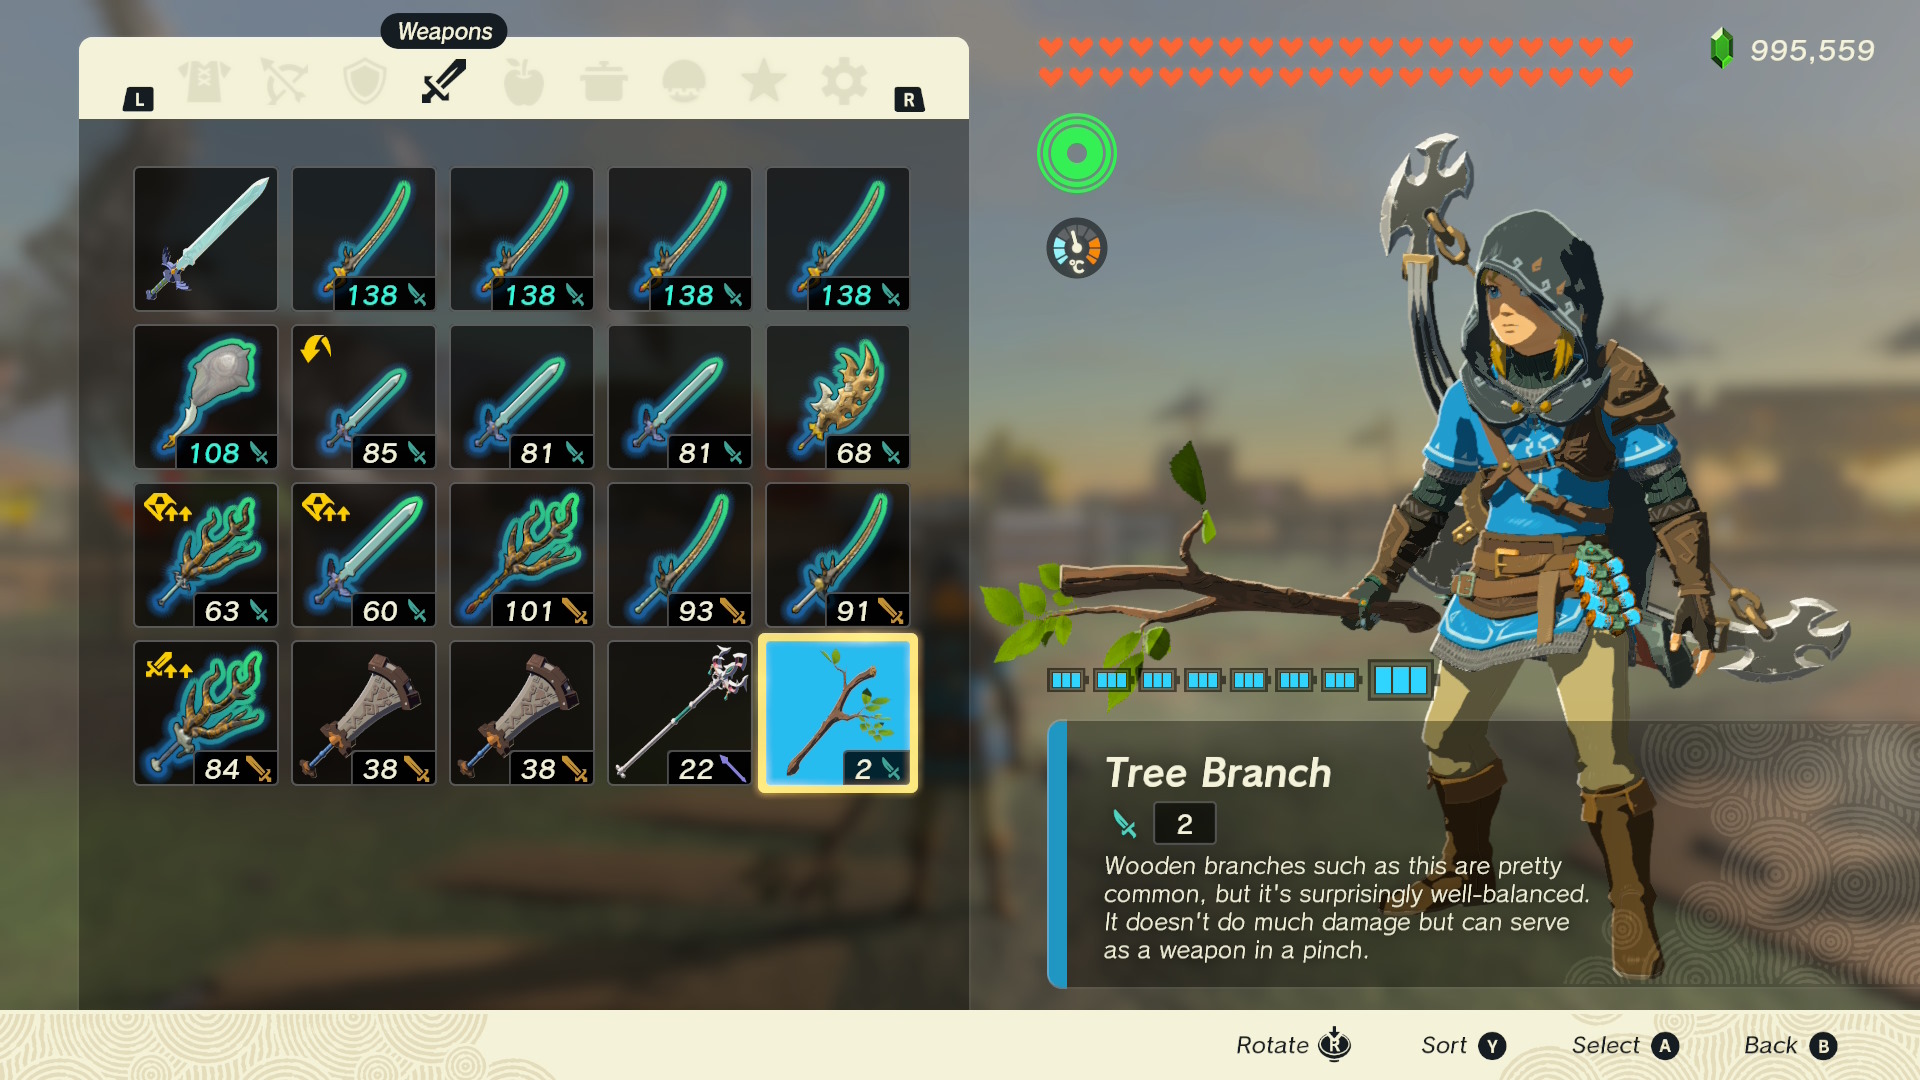
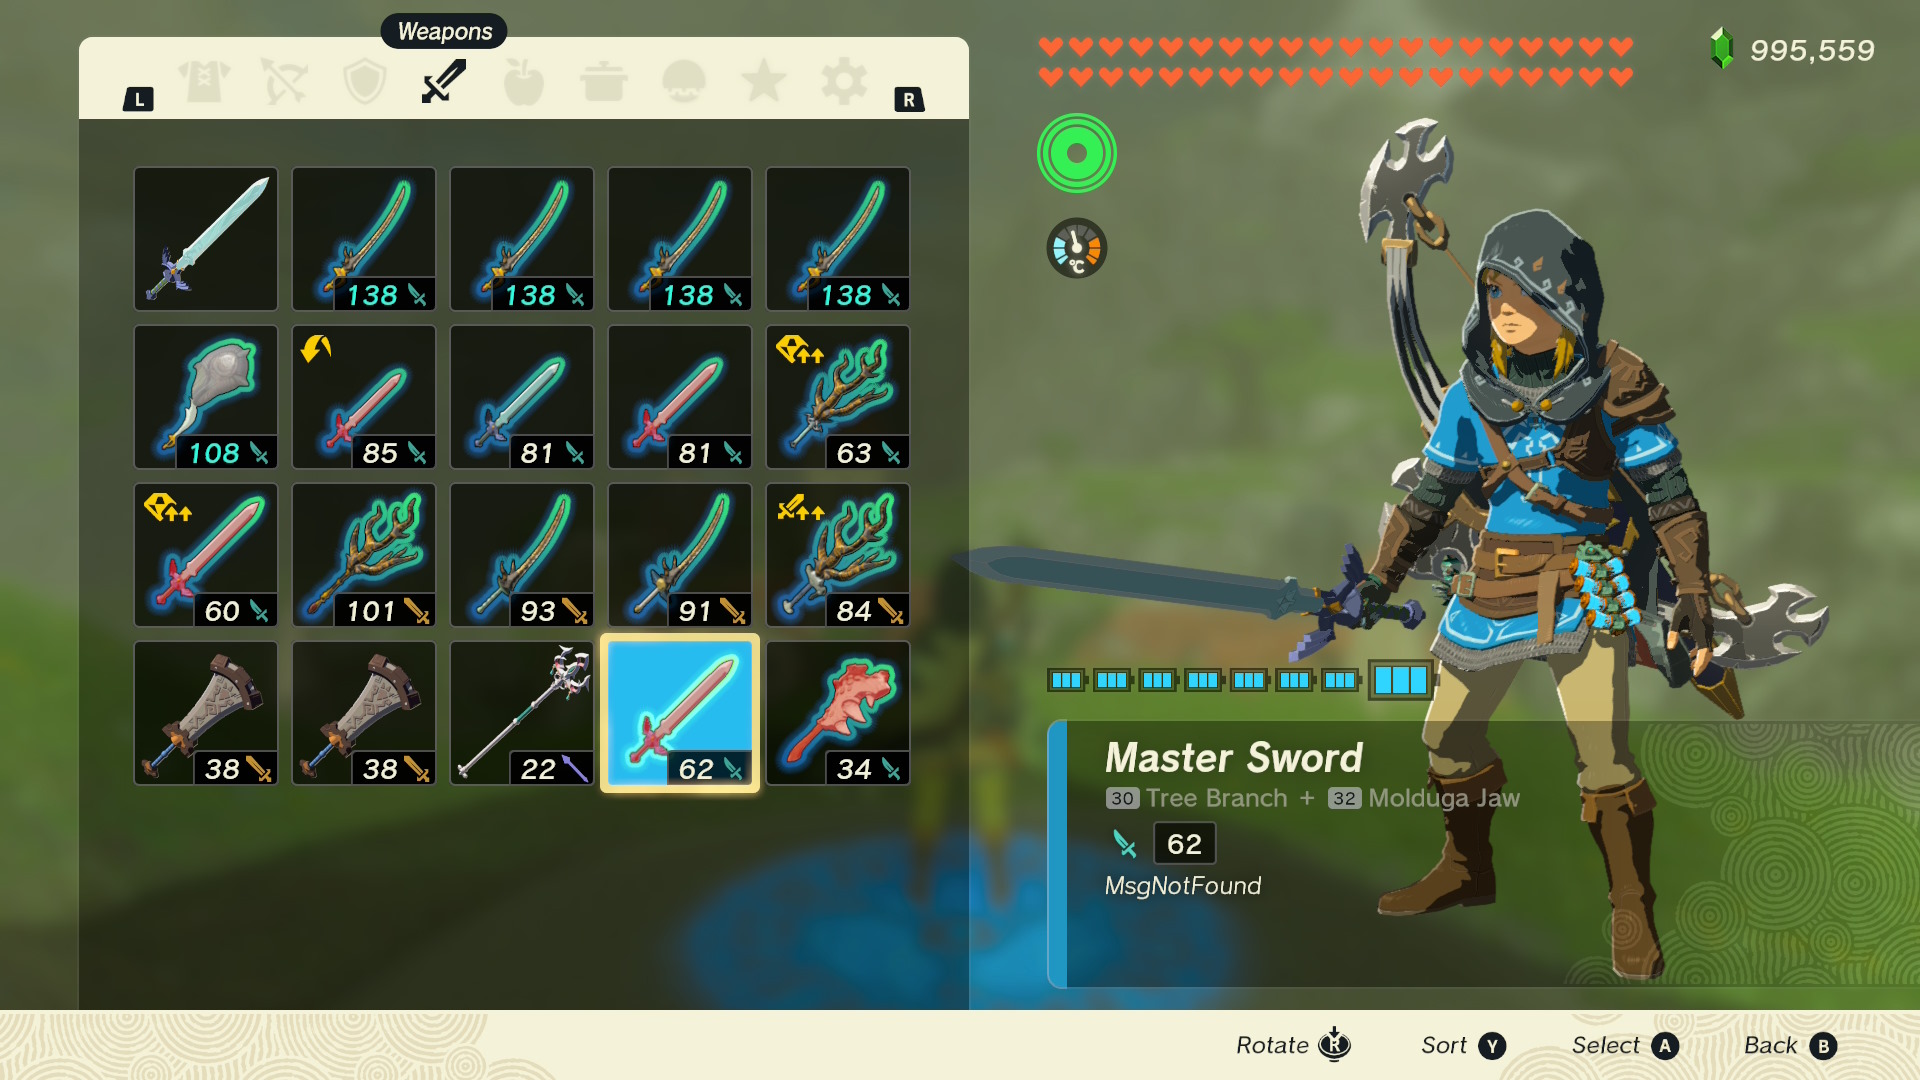
It’ll look like you’re still holding the donor weapon. However, you’re actually holding the MsgNotFound, so everything’s as expected. Drop the weapon to turn it into the MsgNotFound.
Pick up the MsgNotFound, and manually save the game. That’s it! The game’s best weapon is now yours. It really was that easy.
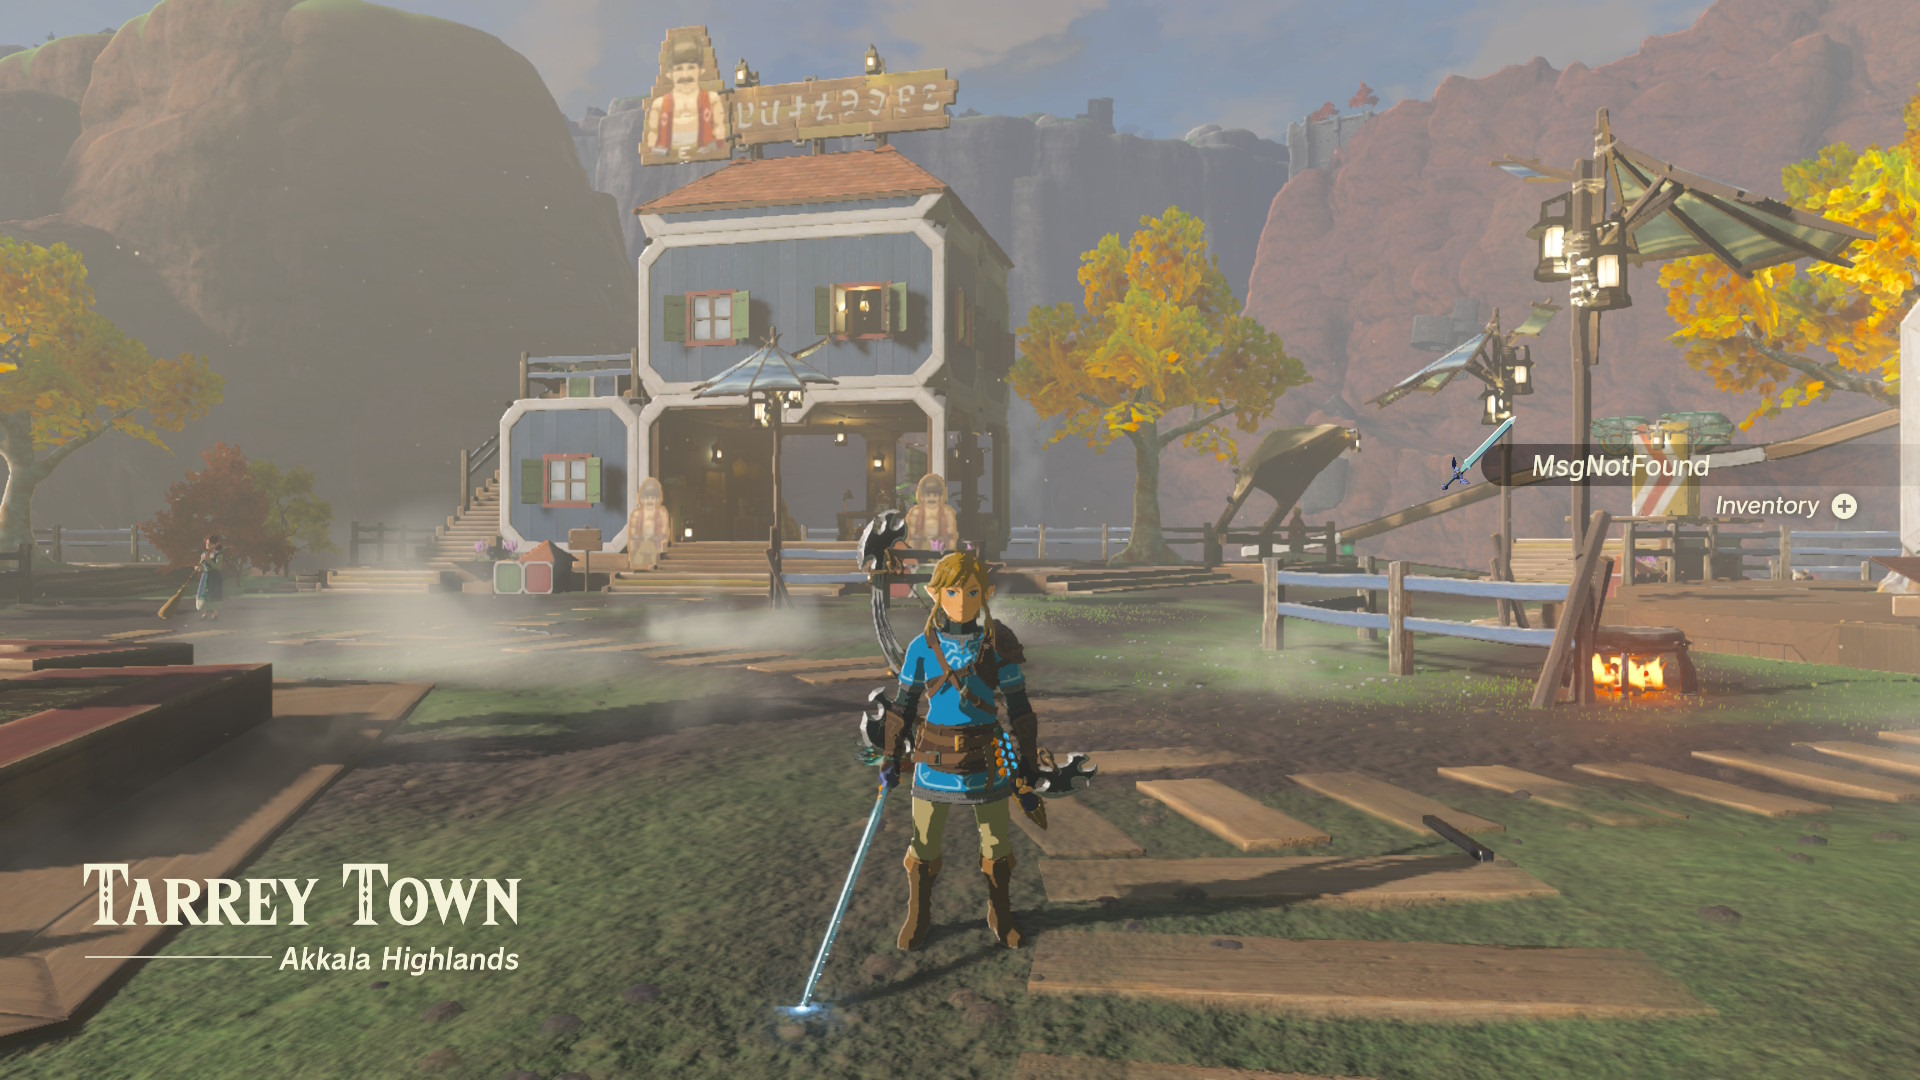
If you followed the guide correctly, you’ll now have the MsgNotFound, like in this picture
Powering Up the MsgNotFound
Still, an unbreakable sword with 30 attack power is alright and all, but we can do much better. We can power it up with Fuse.
But just fusing materials to the MsgNotFound isn’t as simple as using the normal hand ability. It can’t have materials fused to it by default.
Instead, we’ll need to do some careful manipulation there too.
So, choose another donor weapon. Ideally one that breaks quite easily.
Then, fuse whatever material you want for the MsgNotFound to said weapon.
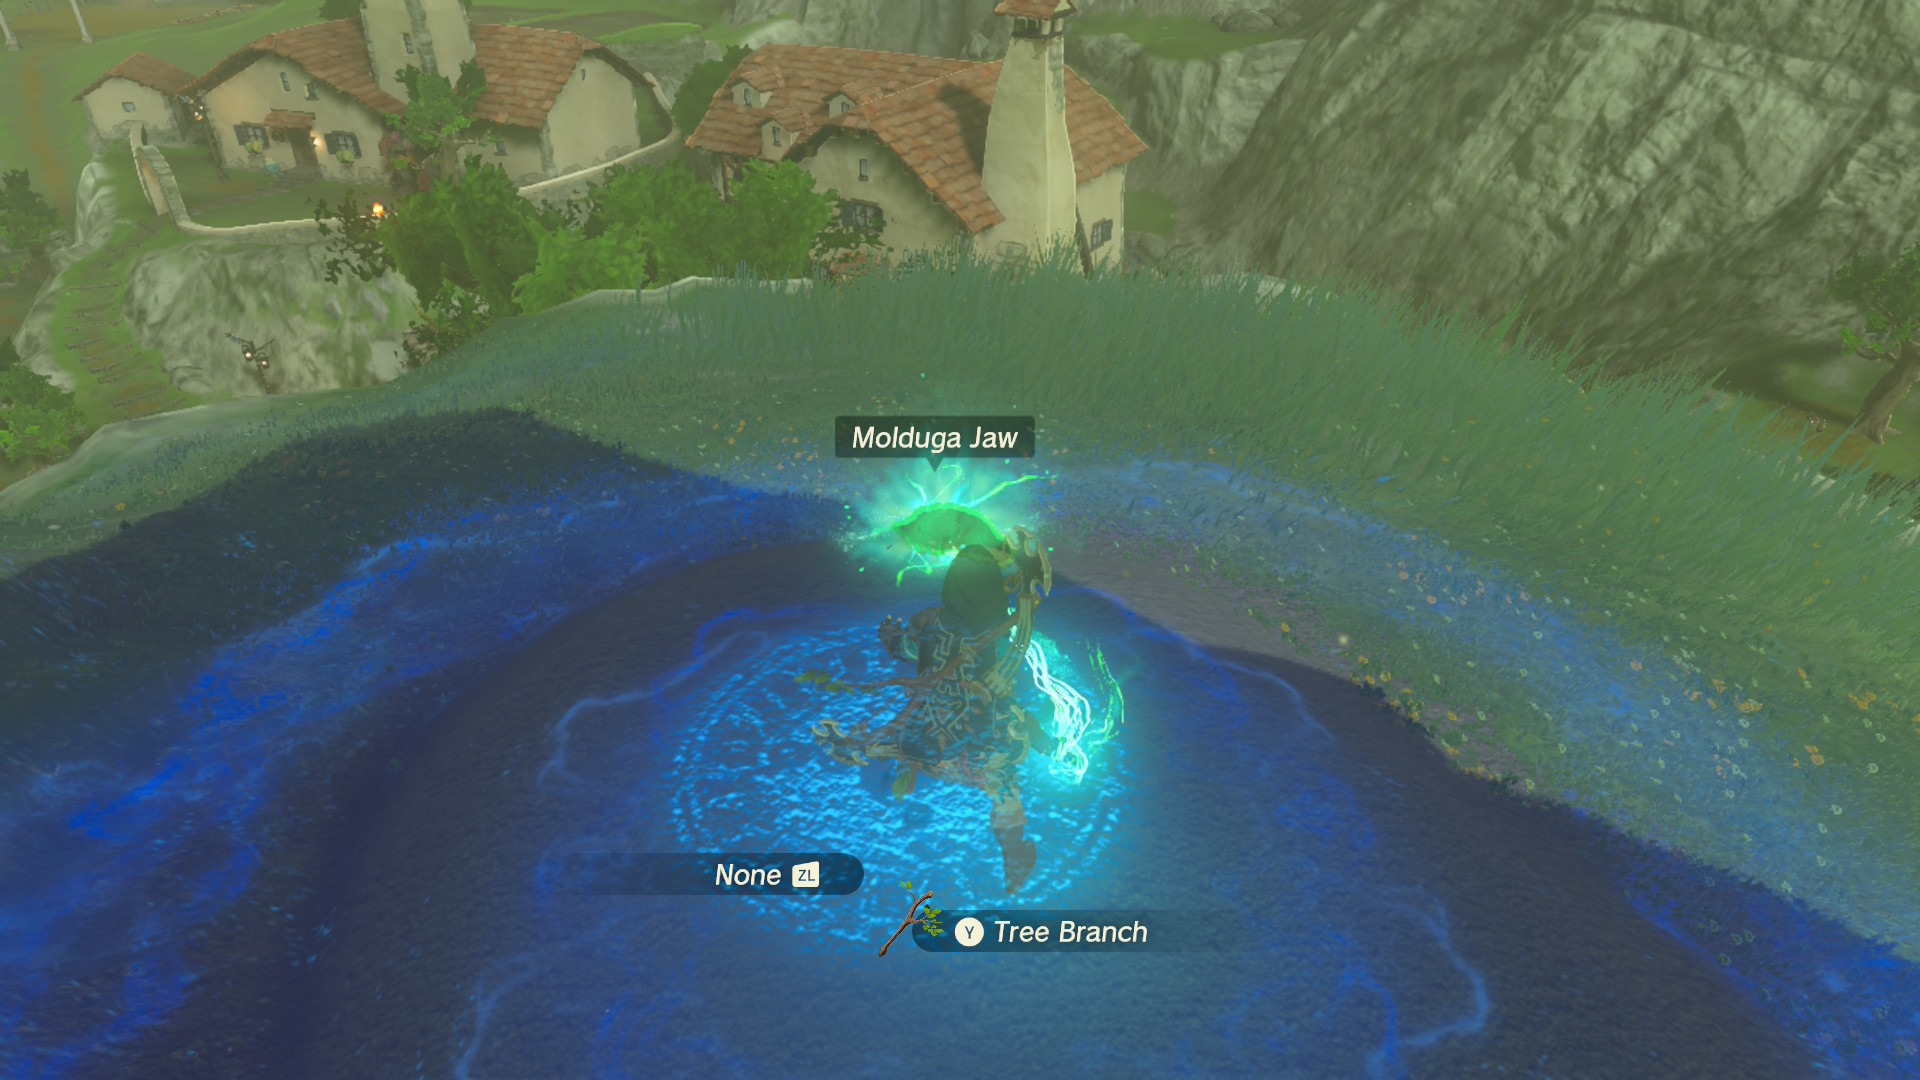
Fuse the material you want on the MsgNotFound to the donor weapon
Now, wear down the donor weapon so it’s at 1 durability. This isn’t technically needed as far as we can tell, but weapons do double damage when about to break, and the MsgNotFound never breaks. So effectively, doing this doubles its attack power.
Wear down the donor weapon like this if you want a double damage MsgNotFound
Once done, equip the MsgNotFound.
Fast travel to a shrine or warp point for an auto save.
Wait 30 seconds or so for that save to occur.
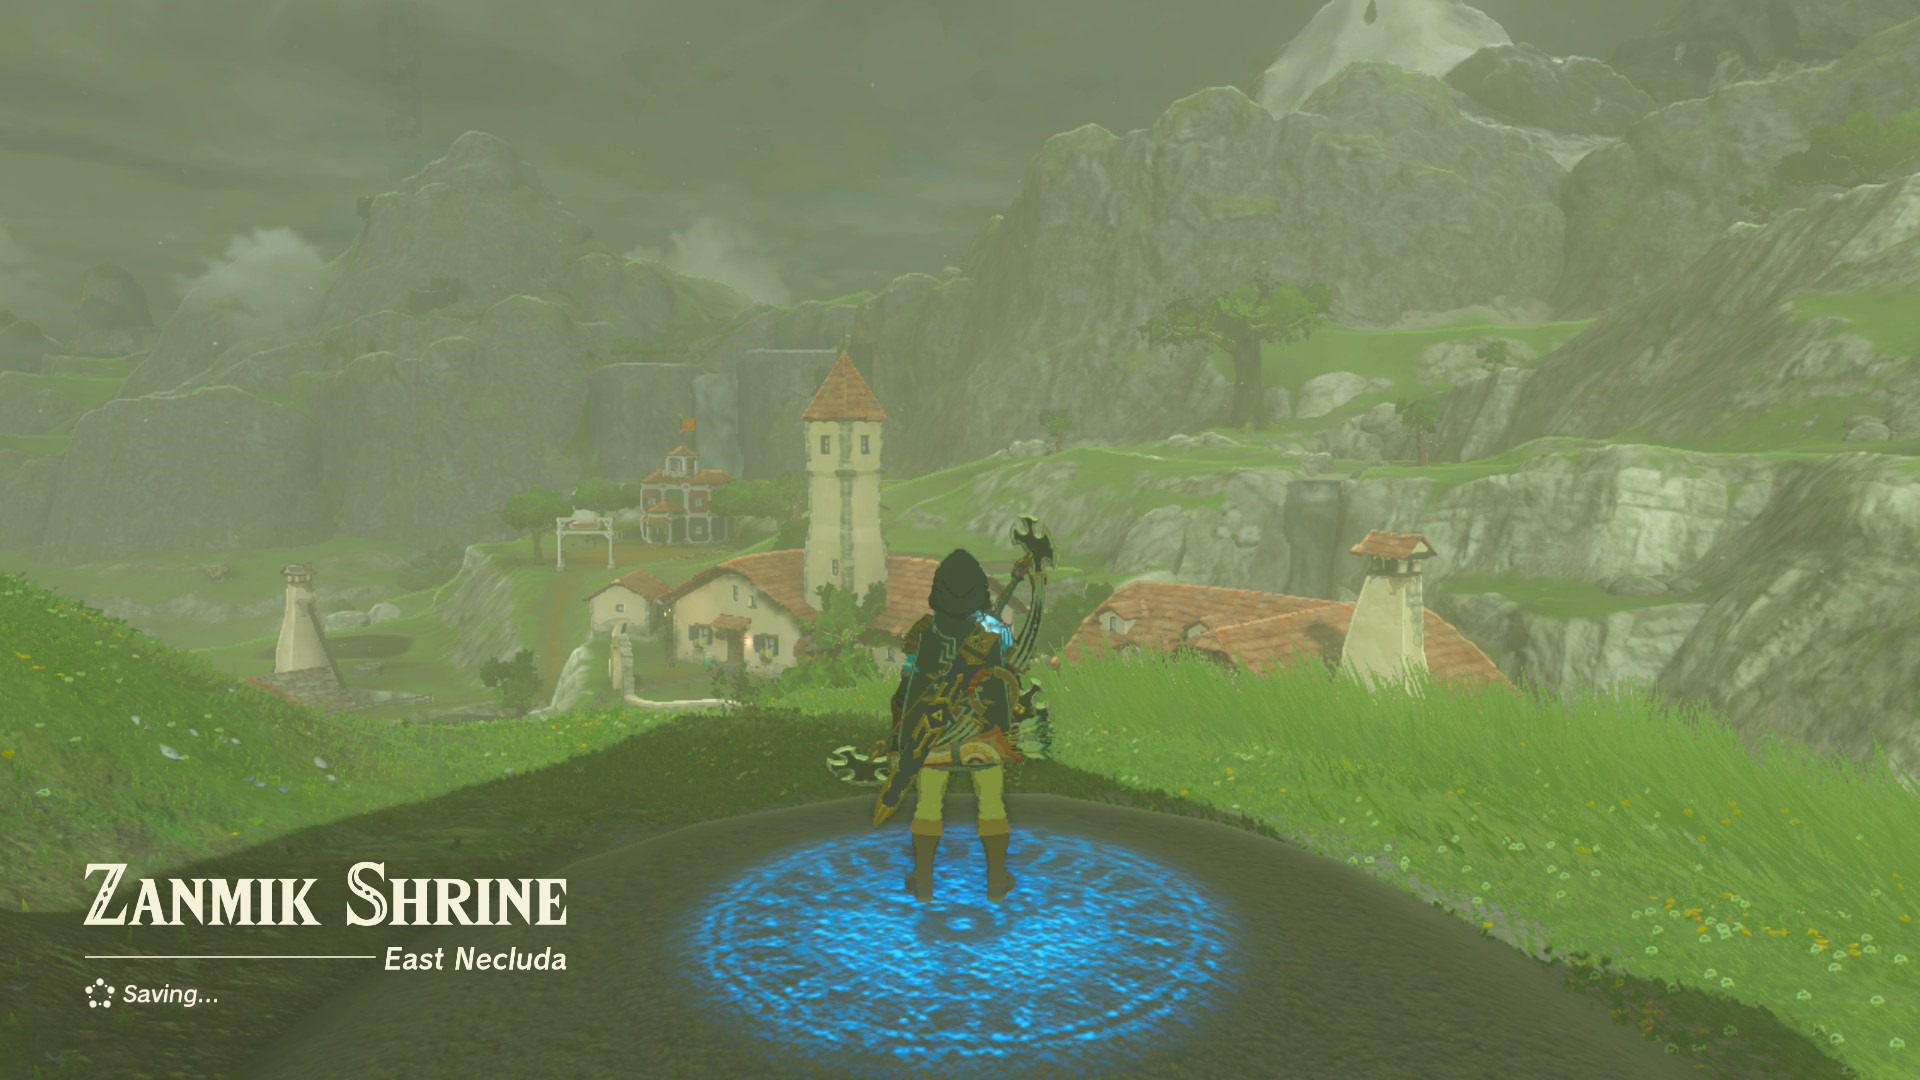
As you can see in the bottom left corner, the game is saving
Then switch back to the donor weapon. Manually save the game.
Now, use Autobuild and hover over the special Autobuild in the menu. Again, don’t build it.
Instead, press B and load the auto save.
Load the auto save, not the manual one, as seen here
Once you load it, it’ll seem like the donor weapon is still equipped and nothing happened.
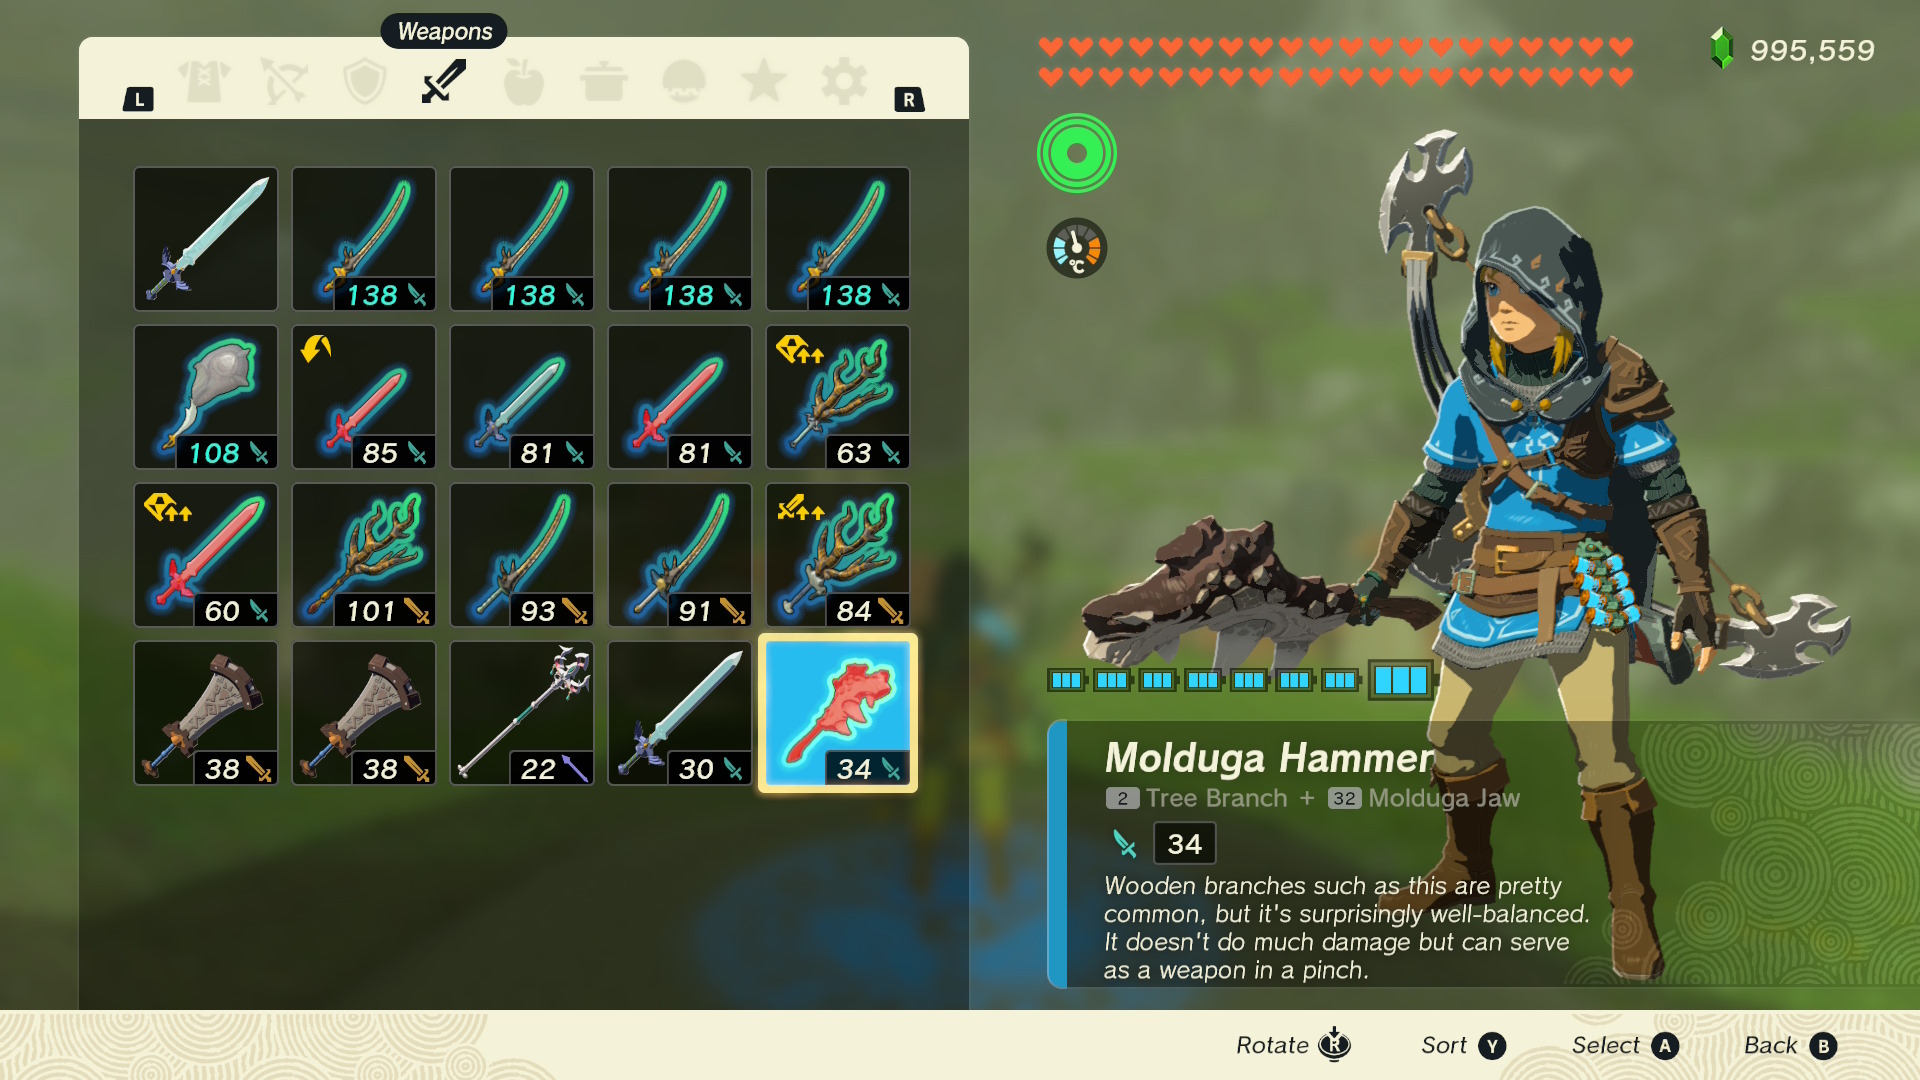
But this is misleading. If you check the menu, you’ll notice the MsgNotFound is equipped with the right fuse material attached to it.
The MsgNotFound should appear with the right fuse in the menu
So switch to a different weapon, and switch back to get an upgraded MsgNotFound. Congrats! You’ve turned your 30 damage weapon into an 80-160 damage one!

And once you switch back in game, it’ll appear as expected in the game world!
Just save the game and quit, and you’re all good!
Displaying the MsgNotFound on a Weapon Stand
Finally, if you get a spare one, you can also display it on a weapon stand in Link’s House too. To do that, first equip the MsgNotFound and manually save the game.
Then, equip a weapon that can usually be displayed.
Open Autobuild, and hover over the glitched QR code. As per the last two sections of the guide, don’t actually build it.
Instead, close Autobuild and reload your save.
Head to the weapon stand, and press A to display the MsgNotFound. Congrats! It’s now on display in Link’s House!
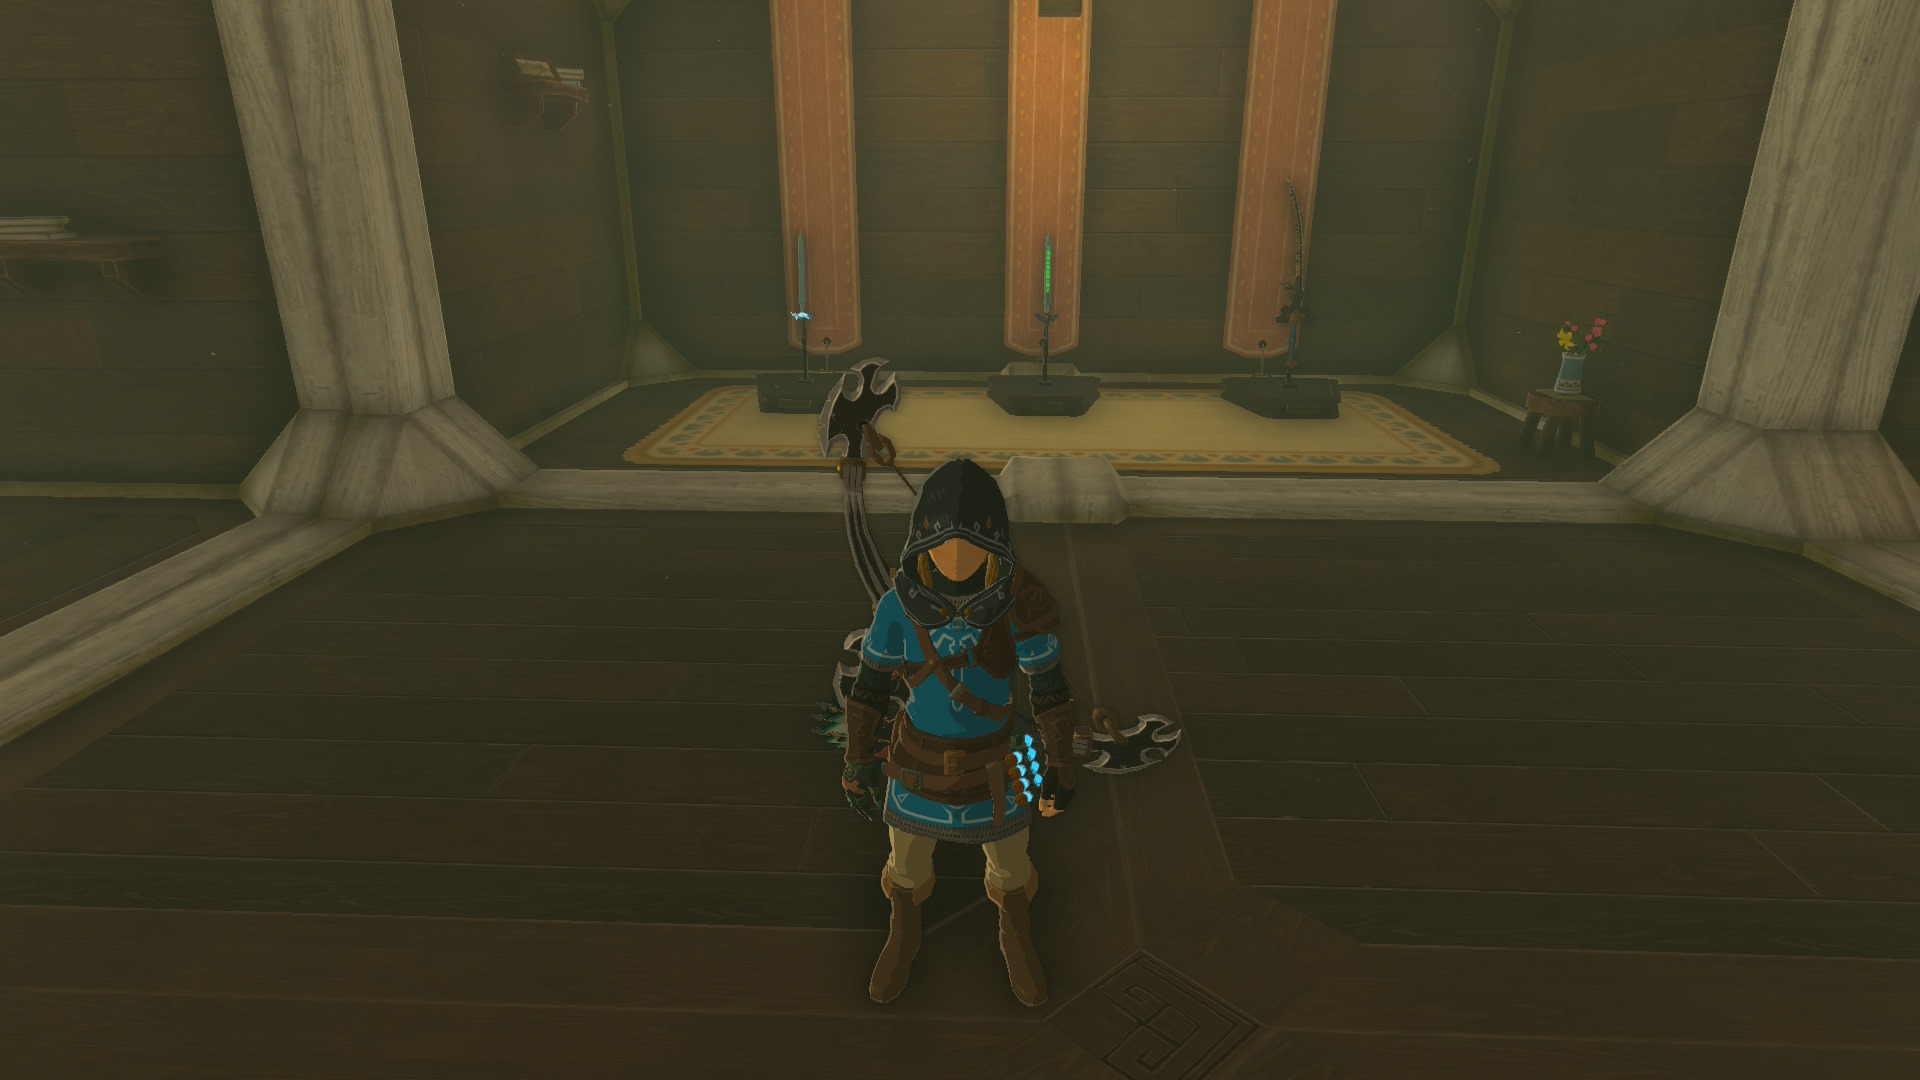
The MsgNotFound and Master Sword on weapon stands, after this setup
Conclusion
In conclusion, that’s how to easily get the MsgNotFound in The Legend of Zelda: Tears of the Kingdom, and turn it into the best weapon in the game, bar none. It’s super simple compared to past ways to get the sword, and breaks the game wide open when used, so go and get it before Nintendo inevitably patches it out the game in the next week or so!
Regardless, if you have any questions (or need help with any part of this setup), leave them in the comments below, on social media, or over on our Discord server today!
Source:
How to EASILY Get the MsgNotFound in Tears of the Kingdom (YouTube)
8 Comments
if i wait until the master sword becomes awakened in the prologue then load my manual save will it be fully awakened or is it fruitless
The MsgNotFound (intro Master Sword) isn’t the awakened one, and is a separate weapon from the standard Master Sword. You can obtain that at any time.
If you want the Awakened Master Sword, the only ways to get that are to escape the Phantom Ganon battle in Hyrule Castle, or escape the Ganondorf battle in Gloom’s Origin. If neither battle is active, the sword won’t be permanently awakened/unbreakable.
So, no the MsgNotFound will never be awakened because it can’t be. And you can’t have the awakened Master Sword after the part in the game it’s meant to be awakened.
After I upgrade the MsgNotFound can I do it again with another weapon?
Thanks! This is way way more than getting the MsgNotFound.. I can easily change duplicate fuse materials to weapons and shields.. copy their attributes like durabilty+. Even repair them.. just by saving holding it.. change to the weapon I want to copy… load..
hoping it won’t be patched!
When I try to scan the QR code, it says “this specific page cannot be found” – was it already patched? Thanks for sharing this.
Seems Nintendo removed the original QR code. I’ve just made another one by transferring my local version of this glitched build to Zelda Notes, so try again now.
Where can I find the updated QR code?
Late, but the QR code in the article still works:
https://gamingreinvented.com/wp-content/uploads/2025/07/OverwriteGearQRCodeUpdated.png